As promised, the Mountain View have posted a few hours ago the factory images Android L for Nexus Nexus 5 7 . This means that holders of compatible devices can now prove the last major update of the Google system after installing the developer version of Android L. Here we show the steps.
Unlike other versions of Android, this year Google has chosen to follow in the footsteps of Apple, but with the odd difference. And although yesterday Android L was presented as the next update of the platform, the final version will come in a few months. Meanwhile, the search engine will offer developers a preliminary version, a trial version that will puliéndose over the months. In fact, testing is vital to optimize performance and user experience of the system tool. It is therefore worth noting that the preliminary version of Android is not stable and L is not error free. However, as indicated in AndroidBeat , the installation process is reversible and may return to Android 4.4.4 KitKat . 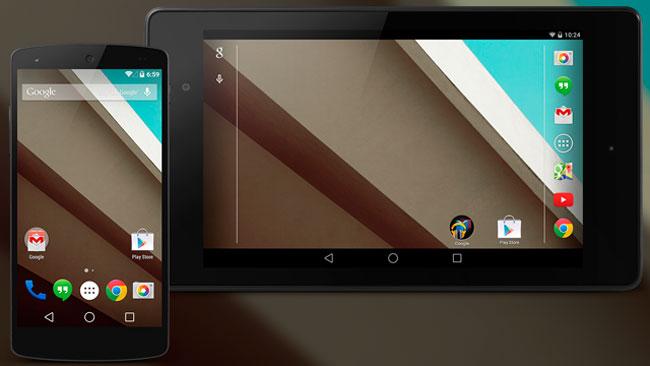
Following the release of the SDK Android L, with which developers can begin to adapt and create new applications for the new version of the system, Americans have accompanied this development kit with images of factory l for Android Nexus Nexus 5 to 7. This means say that every owner of any of the two teams user can install this version of Android.
previous Steps
Before starting the process installation is necessary to back up the data in memory for installing terminal L requires Android ROM formatting during the process.
Download factory pictures corresponding to your computer, you can find from this link.
If you do not, it is also necessary download package files that allow us to use the protocol and Fastboot commands ADB . It is preferable to unzip the folder in the root of the hard to expedite the execution of subsequent commands disc, but not required. Save the image factory in the same folder. It is also necessary to have the driver for Windows to properly recognize both the Nexus 5 as the Nexus 7.
Installation Process
1 – Start the command prompt, right from the accessories section or by typing cmd from the run section, accessible from the Windows Start icon (if you have Windows 8 you can access by pressing the right mouse button the icon)
. 2 – Go to the folder where the Android SDK files (fastboot and ADB) from the command line. To access C: write CD / and hit Enter. Now go to the folder through the directory where you stored. In our case Android will CD
. 3 – Restart the way Nexus Bootloader . In the case of Nexus 5 is achieved by pressing the volume +, volume – and power at the same time. For the Nexus 7 we just press Volume – and Power
. 4 – We check that the driver has taken effect and the Nexus connected to PC with USB cable, write in the command line fastboot devices . You will need to include a reference
5 -. Unlock the bootloader of Nexus running fastboot oem unlock command . Confirm the process with the volume key
. 6 – Time passing pure Android installation L. Write all.bat lyrics
Now you just have to wait for the guided installation is complete. Note that the first boot will be long. Also we must remember that we offer only technical information about the process. For any further questions and problems you can use the MovilZona forums .
![]()
No comments:
Post a Comment